Post Mortem: Skele-Tom

Intro
I originally was planning to make the game over the first weekend, then get feedback and tweak it the following weekend. However, as you will see, man plans and God laughs. My plans were derailed on Day 2. Despite that, this is the best game I've made yet for a game jam. I loved Eternal Echoes and am still very proud of it, but even in the past few months I've learned so much more. Plus, this game was done in about a 6th of the time as that one. My number one goal through the whole thing was a FUN GAME LOOP. Because that's the thing I'm almost always missing. I get hung up on making things look pretty instead of play well - and then go back. This time...I mostly did not make that mistake.
Originally I planned to journal each day so I wouldn't have such a huge post mortem to write at the end. That lasted one day, so I moved that entry over here.
Day 1 - The TV
The jam started today. The theme was a picture/3D model. This one:

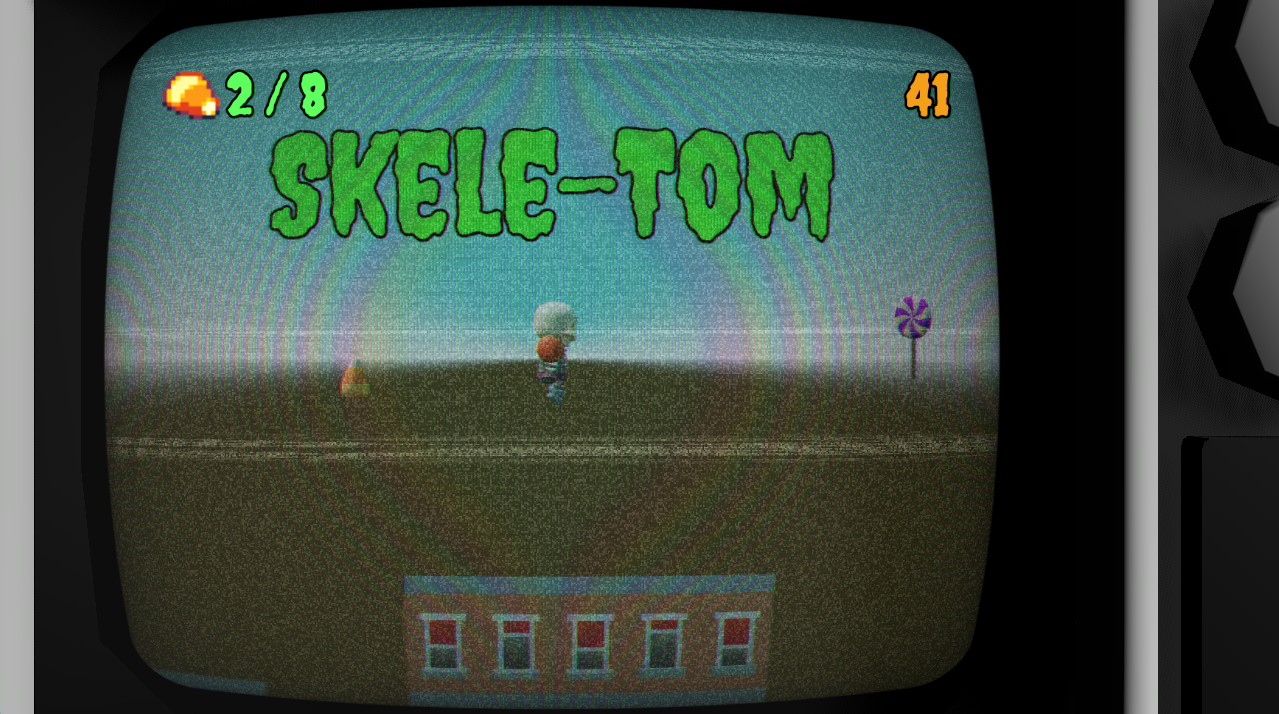
So I did some brainstorming, and decided with the assets provided, the easiest thing to do would be a platformer. I decided on a skeleton that steals candy and decided to call him Skele-Tom. I immediately went over to Suno, wrote some song lyrics and created a song that I felt really gave me a vibe for the character and the game. Then used the cover feature to create some 8-bit level music that matched the theme song. I wanted a Nightmare Before Christmas vibe to the game.
The TV
So the TV was provided as a model, and I started thinking about how it was an old school CRT, so why not make a game that felt like an old school platformer? Basically jump, collect candy and avoid traps. The "monsters" could be angry costumed trick-or-treaters. I thought I would try incorporating the TV model itself into the beginning of the game.
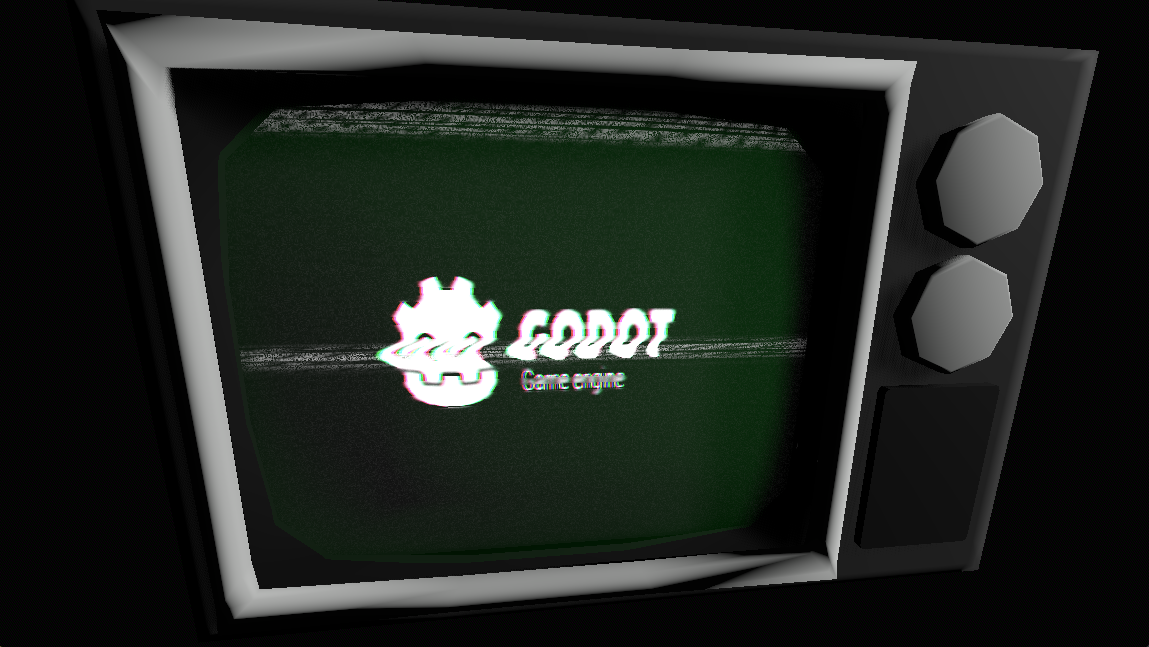
I started googling and found a VHS and Monitor Effect that had been updated for Godot 4. Then I found a tutorial on how to add it to a curved CRT model. It did not work. It did not work despite me creating new Visual Shaders. Then I decided to go look up just a normal play a video tutorial. I found one and realized that it worked fine on a flat mesh. So, I hid the curved screen and used the flat mesh.
Then I started integrating it with my Dragonforge Game Template. With very little work, I was able to get all my splash screens to show up on the TV!
But as soon as I got to the Main Menu, the TV disappeared. So, I stuck my entire game state machine inside the TV. Then I tweaked the font to look creepier thanks to Google fonts.
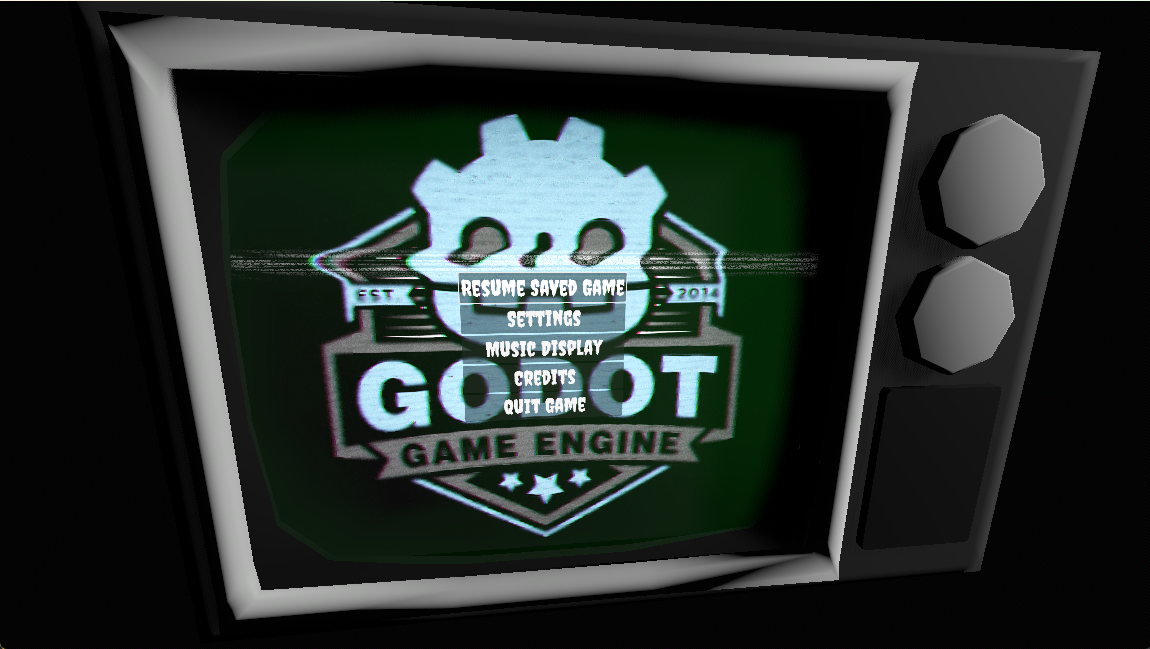
The next problem was that no inputs were reaching the menu. After some googling, I found it was pretty easy to pass them in. At least, for keyboard and gamepad inputs. For most games I try to support keyboard, mouse, and gamepad, but I think for this one I'm going to skip mouse inputs because raycasting just to make it work seems like a lot of work for very little benefit. Maybe if I have time once the game is working.
I've decided this is a good place to stop for the night.
Days 2 - 5 - The Fire
On day two I decided to put a better video card in my machine. One my brother had lying around. So he and I did that assuming it'd be 15 to 30 minutes of work, as we've both been working on hardware for decades. About an hour in, the video card actually CAUGHT ON FIRE! Neither of us had ever seen that happen. It was a small flame, like a candle flame, and cutting the power killed it. It lit right where the board sits in the PCI slot. We managed to fry the video card, motherboard and power supply. Luckily, my brother had spares.
So for the next 4 days, we rebuilt my computer. Luckily my hard drives were ok. My biggest lesson learned was backup even your game jam games on GitHub.
Days 6 - 7
Finally, I got back on track.
3D in 2D in 3D
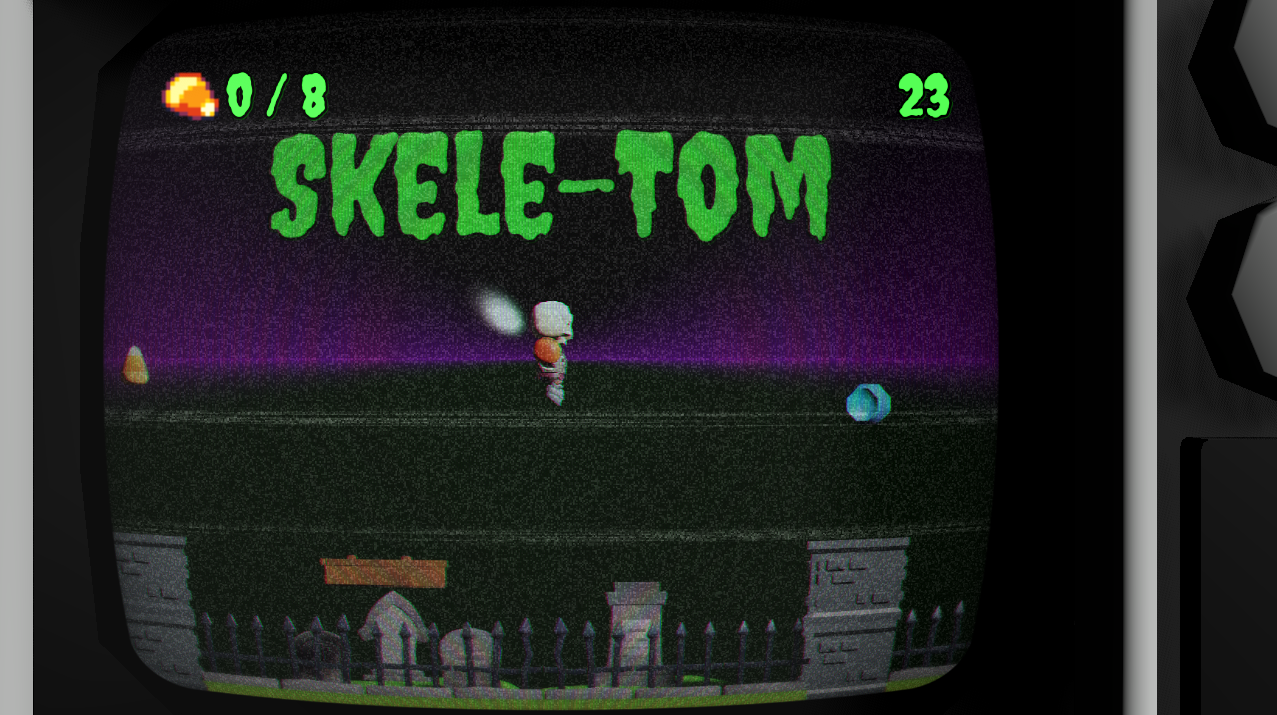
I finally got to start working on levels. I made a graveyard level. Then a city level. I wanted to build the basis for them so that I can do 5 of each. I spent a lot of time just getting a 3D scene to show up in a 2D viewport, and then that 2D scene showing up in another 3D viewport. Then all my menu controls stopped getting signals. So then I had to make sure they got passed through. I was easy for the keyboard and gamepad, but was going to require some really convoluted ray casting to work with the mouse so I just let it go. I just had to say "good enough". So far I've gotten three complaints about the menu controls. But I don't think that it was worth it, especially since I'm never going to be making a game this convoluted in this particular way again (I hope).
Guardrails
You may not even notice (in fact I hope you didn't) that the game has guardrails. While it is built in 3D, when it's in 2D mode, it is REALY easy to fall off the front or back of the map. So I created invisible StaticBody3D nodes with collision shapes that were 30 meters tall,100 meters long, and only 0.1 meters thick. They keep the player on the path.
Jumping
I've gotten a lot of comments about this already. I spent time tweaking the jumping based on the first level I built, which was the graveyard. I actually built it based on the GDC talk Math for Game Programmers: Building a Better Jump, which I found doing Zenva's 3D Action-Adventure Game in Godot – Unit 1 – Characters course. My problem was that I couldn't really control the apex of the jump because I had a state machine that had a Jump State and a Fall State. So I was able to control the gravity on the way up and way down, but I wanted it integrated with Godot's get_gravity() function. This was harder than I expected. I wanted to do this because then I could add an Aread3D to my game and switch the gravity, allowing the player to walk on walls, shoot up into the air on air gusts, etc. However ultimately, I never implemented it. This was a perfect example of me future-proofing my code. I wasted a bunch of time, limited my ability to tweak the jumping, and ultimately didn't need the safeguards I'd put in. Ultimately, the lesson I learned was to get the game working first. Because I was really still thinking ahead to back-porting for my next game.
I then spent time testing the jumping and getting something that felt good. After playing with it, I wish I'd gone back and tweaked the falling speed to be faster. It still feels too floaty. But I did this tweaking early on before I really had any level built. In retrospect, I should have planned time for player control tweaking after I built a few levels, especially in a platformer. And then I should have had final tweaking time at the end. Leaving half the level building to the last minute didn't give me time for this.
Car Springboards
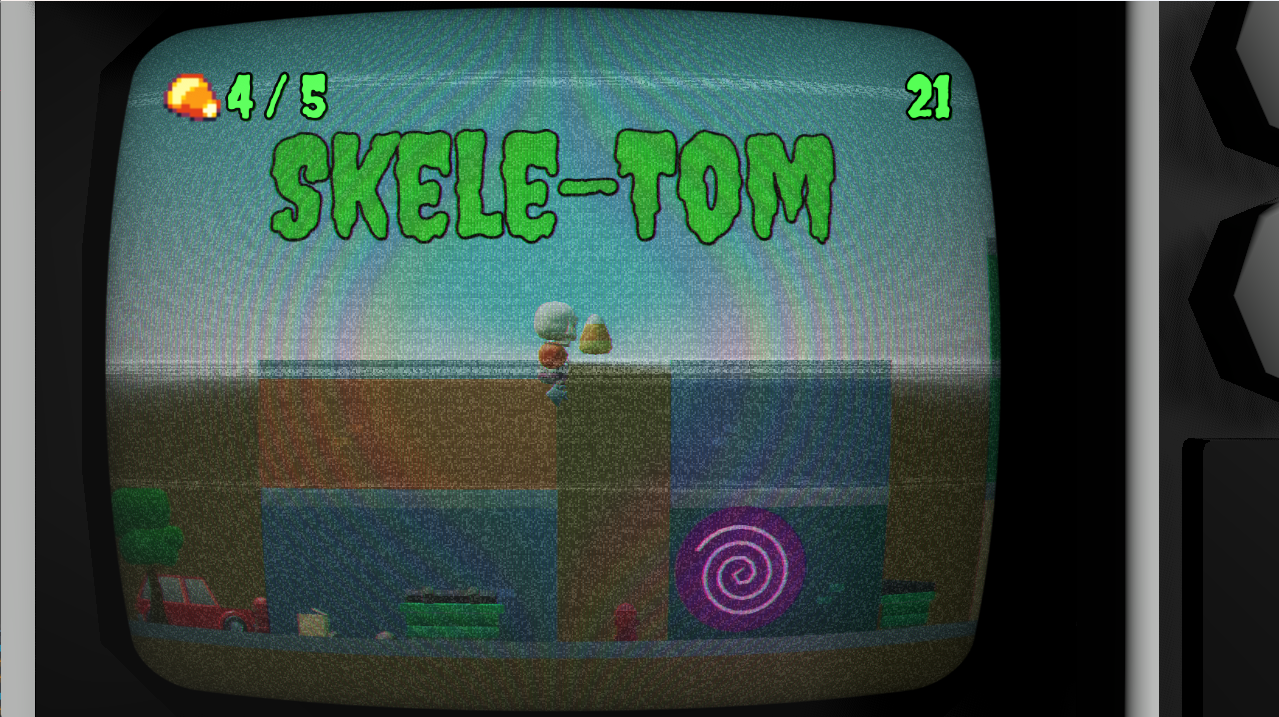
Level 3 was actually the first city level I built. I originally placed the red hatchback cars just as an obstacle to jump over. Then I had a thought: "What if they acted like springboards?" So I just tried it. I made a box-like area3D on the top of the car and had it increase the player's vertical velocity. Two things happened. I found out that I could really shoot up if I hit the jump button when I landed, but it literally had to be the right frame. The timing was rough, and I knew widening that timing was going to be opening a can of worms. So, I skipped it.
The second thing I realized was that if you ran into the back of the car and pressed the jump button, you would catapult the player's collision shape through a tiny overhang in the springboard collision shape and it would FLING you into the air. It was SUPER FUN! So I decide that was a mechanic I was going to leverage. When I made level one I placed cars in the foreground, and placed them so that if you jumped at the back of the car, it was the perfect trajectory to grab the candy. I wanted to subliminally trigger you to think of jumping there so you could find that sweet spot. However it ended up confusing people. I thought of changing the car colors, but the shader applied to the wheels and windows as well as the car frame, and I didn't have the time to update it in Blender, and the other cars weren't the same size. I now wish I'd taken the time.
Trash Springboards
I decided one of the quickest ways to make new levels was to repurpose old ones. So I flipped level one around 180 degrees (literally) and had you run through the alley. The buildings had a ton of trash cans and I realized I could run the player over them. I thought they'd be good springboards too. However I was having collision issues. The trash next to them and the ridges on the back of the building could catch the player and hang them in an infinite falling loop. The solution was to create little collision boxes to place over the trash heaps, and to create MeshInstance3Ds as planes so I could see exactly where my guardrails were and tweak them inward ever so slightly. (I ended up doing this again for level 5 when the walls were on both sides.)
After jumping on them they were just kinda meh. Then I decided to tweak them, so that each trash can gave a different velocity, and catapulted you to the next one. In this way you could jump from can to can all the way down the alley (except for the first one on level 2). Since the red cars were still in the level, I placed them to help indicate where you should jump on the cans. I think now that I should've used a different visual cue as it was reported as confusing.
Day 8 - Many Types of Hell
This was a rough day where I got no forward progress done. However I wanted to get the game on the itch page and running in the browser so I wasn't trouble-shooting that last minute. I'm SO glad I did, because getting it working took a whole day of the 6 actual days I had to work on this.
Upload Hell
So I uploaded the game - which uses the same Godot frameworks I've been developing for over a year. I got a grey screen when I tried to play the game. NOTHING. TBH, I have no idea what I did to fix this and I'm sure I'm going to regret that soon. However I was VERY thankful that I had used Butler to push builds because by the end I had pushed 32 versions of the game. 32! Most of them were patches of a meg or so, and took 30 seconds to push and post, so it made testing a LOT faster. Without Butler I may have given up.
Godot Audio Bus Hell
None of my sound was working in the web build, except for the volume confirm sounds for the Main sound. Anything I ran through a custom bus just wasn't working. I have no idea why because it worked before in other games using the same code in other game jams. I gave up trying to fix it and switched everything to come out of the master bus. But it took me a while to get there. I should have given up sooner and just made the game work. I wasted a lot of time trying to fix something that didn't matter in the timeframe I had.
Animation State Machine Hell
I had so many issues with multiple character animations. It wasn't the models. KayKit does excellent work. In fact I've used them in MANY game jams at this point. My 3D controller even uses one of the free models as the base for the whole thing.
However, I am still integrating my StateMachine with the 3D Character Controller. I learned a lot, but ultimately solved nothing. This problem rolled into the next day and seriously demoralized me. The game played well but it looked like CRAP and I knew it was my fault somehow.
Day 9 - Tricks, More Levels and More Bugs
I had two days left and I only really had three levels. I also hadn't even started implementing any of the special candy "tricks". And I still spent a couple hours that morning just trying to fix the spawn animation, death animation (which was sometimes triggering twice), and the de-spawn animation (which had also started triggering twice.)
State Machine Bugs
My movement state machine had the the Spawn, De-spawn, and Death states inside it so that I could block movement. However, it wasn't working. Sometimes the character was triggering the Fall state after respawning and I couldn't get it to do the spawn animation after loading the first level. I ended up moving the spawn animation out of the AnimationStateMachine and into the BlendSpace to try to override and short-circuit that problem. No dice. I created a new State Machine just for those three states. No dice. I did however realize why states were getting double triggered. And I fixed that by teleporting the player up in the air so that when it was being moved it didn't accidentally end triggering a collision detection. Hacky, but it worked.
The Trick
SPOILERS!
So I had planned from the beginning to add the optional "trick" modifier for the game jam. Candy that when collected, gives you points, but also changes your point of view. Either switching to a different camera, or messing with the TV shader. So I started modifying my existing multi-camera framework to support this. It went very smoothly.
However when I switched to the isometric cameras, the buildings were getting culled! So you'd walk up to a building, and I wanted it to block your view, but instead the camera let you look through it! I struggled with this for a long time, and ultimately gave up. adjusting the culling distance on the camera didn't work, and I couldn't figure out how to turn this "feature" off in Godot. So I had to retool the levels that used the candy to be more difficult when you picked up the candy. It wasn't what I envisioned, but it worked.
Level 4, 5 and 6
I ended up designing three more levels. I spent a lot of time balancing them, and by 2 am I was done. I'd wanted 5 levels in the game, but I had 6 and that was as far as I was going.
I uploaded the latest version using Butler which took only moments, then I made my game public and submitted it. I wasn't done, but I wasn't going to miss the submission deadline and I had 13 hours left.
Day 10 - Final Tweaks and Treats
I had gone to bed about 3am the night before. I woke up at 8:30 am and had until 3:30 pm to finish.
Game Page
The page for the game was the default red and white with only a single screen shot. I thought it was cool, but I had my brother take a look. He told me that a shot of the game would look good. I updated the details of the page, along with controls. (One of the thing I've learned in comments is people like their default controls and just to put them in there regardless.) This took a long time.
Screen Shots
These always mess me up on the last day - because I always wait until the last day to do them. So a few game jams back, I added to my framework a 630x500 resolution because I would always spend like 30 minutes at the end of every jam cropping screenshots and resizing them to fit that stupid ratio. Now I just change the resolution, take the screen shot and voila! Done. (For the rest of the shots, I use 1280 x 720 typically.)
Hidden Title
If you look at my screen shots, you'll see the in-game shots all nicely feature the name of the game. A few game jams back I also figured out that I don't have to edit screenshots in Gimp or Krita at all if I just put the words with font that I want in the game. I learned I can add a label at the top level of my game and it'll show up in all the screens for when I take screen shots of my game. This makes my games look more professional and again, I just upload them. No more editing in other programs. This saves me like an hour or so on the last day.
The Treat
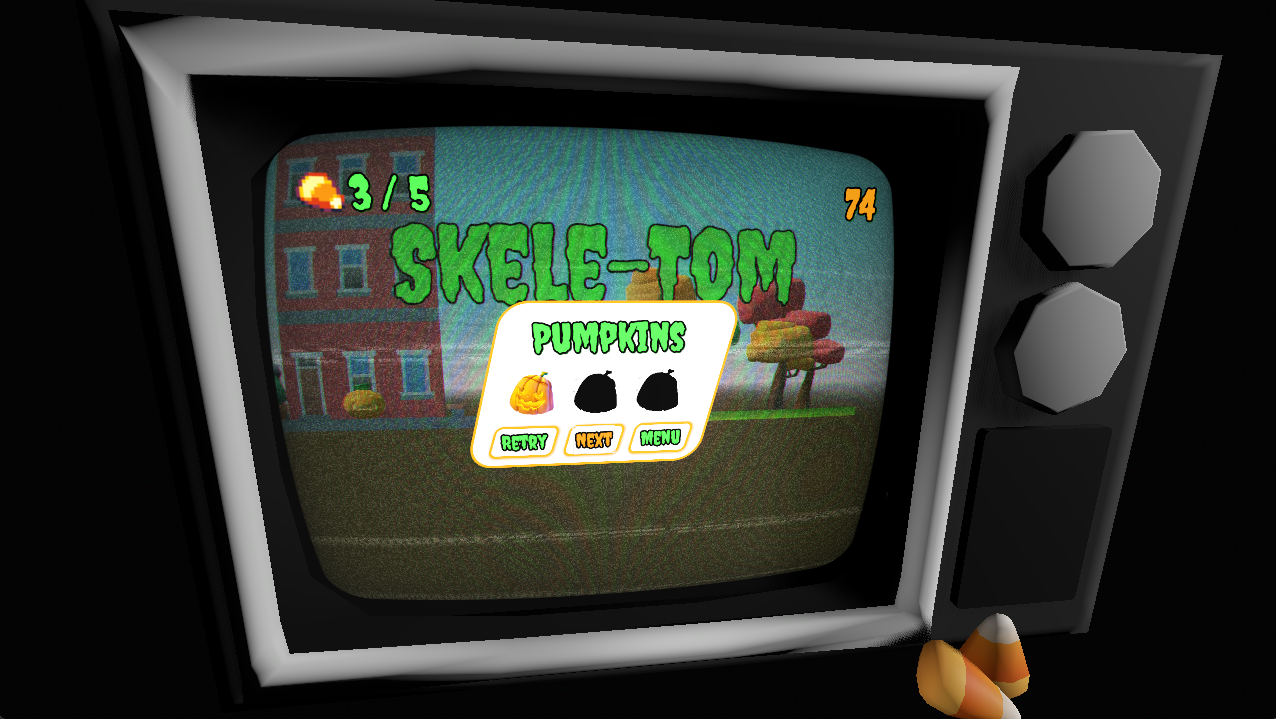
So my game was up, and I had planned to do a "Treat" which was an option to add checkpoints to the game. I did it in three iterations in the last 30 minutes before submission time closed. My last upload was at 1 minute 'til. Because I had a menu framework, I was able to copy code I already had and repurpose it. Because I didn't have a lot of time, I hardcoded a lot of stuff. But I can go back and make it cleaner later. I created a grid of 6 buttons, one for each level. I made them simple, with the numbers of each level as I envisioned them in my head.
I added three pumpkins underneath each buttons to mirror the ones at the end of each level. Though in this case I used 32x32 pixel images from Final Boss Blues' Halloween Graphics. I then had them self-modulate to black so they would appear as black shadows of themselves. I then added code in the summary screen at the end of each level to send a signal saying the number of pumpkins had been updated, and setting those values in a Dictionary stored in the Game autoload with the name of the level and the number of pumpkins. Then the main menu looked for that signal and grabbed the values, and I used the code to change the pumpkin values. Though for each button I had to hardcode in the names of each level using an @export variable.
Since earlier in the week I had made that Dictionary save and load from disk, those values propagated. I then realized after I had uploaded the final version that I had forgot to disable the buttons so you couldn't use them until you got some pumpkins for each respective level. And with that, I was done!
Conclusion
My biggest takeaway this go-round was that I can't be thinking about fixing my framework or back-porting fixes, or coding for the future. I need to code for now when I'm in a Game Jam, and then take what I learn and put it into the framework for next time. future-proofing in Game Jam is also a non-starter. It wastes so much time.
I'm really proud of what I accomplished in this game and I learned a whole lot.
Leave a comment
Log in with itch.io to leave a comment.